Category: Free Inquiry

This is the category to apply to your Free Inquiry posts.

Finally…. Handstands!

The final blog post!! What better way to end the blog then to take it back to the first post and do a full circle in learning!

So, as stated previously, I initially set out to do this inquiry project with a focus on handstands. However, as I began writing more blog posts each week, I realized that my inquiry shifted and I wanted to focus my posts on the practice of yoga. Well, handstands are a yoga pose and for the final week, I am going to walk you through a handstand practice that I researched and the exercises I will do to help me work on my balance and strength.

Before you start trying to do handstands, it is very important to establish a solid foundation. You should always remember to warm up your body before attempting to a handstand and you should focus on strengthening your wrists, shoulders, and core.

I started researching videos on Youtube, and I found this one here that I really enjoyed. The video is intended for beginners with no prior training and the instructor walks through different exercises to work on to help achieve a hand stand.

I asked Chat GPT for tips on how to do a handstand and this is what was generated:

“Performing a handstand requires a combination of strength, balance, and technique. Here’s a step-by-step guide to help you learn how to do a handstand:

1. Warm-up: Before attempting a handstand, it’s crucial to warm up your wrists, shoulders, and core. Perform wrist circles, shoulder stretches, and core activation exercises to prepare your body for the inversion.

2. Hand Placement: Place your hands on the ground shoulder-width apart. Your fingers should be spread wide, with your fingertips facing forward. Ensure that your weight is distributed evenly across your palms.

3. Kick Up Against a Wall: Start by practicing against a wall to build confidence and strength. Stand facing the wall, place your hands on the ground, and kick one leg up while pushing off with the other. Aim to create a straight line from your wrists to your shoulders, hips, and heels. Use the wall for support as you find your balance.

4. Focus on Alignment: Pay attention to your body alignment. Engage your core to keep your body straight, and avoid arching your back or letting your shoulders collapse. Gaze between your hands to maintain a neutral neck position.

5. Balance Practice: Once you’re comfortable with the wall-supported handstand, practice finding balance without the wall. Kick up gently, and use your fingers to make micro-adjustments in your balance. Focus on tightening your core muscles to control your position.

6. Entry Techniques: There are various ways to enter a handstand. You can use a two-legged kick, a tuck jump, or a straddle entry. Experiment with different techniques to find the one that feels most comfortable for you.

7. Bail Safely: Learning to bail safely is essential to prevent injuries. Practice rolling out of the handstand by tucking your chin to your chest and rolling forward if you feel like you’re losing balance.

8. Consistent Practice: Like any skill, mastering the handstand takes consistent practice. Dedicate regular sessions to handstand drills, focusing on both strength and balance exercises. Gradually increase the duration of your holds as you gain confidence.

Tips:

  • Visualize Success: Imagine yourself successfully holding a handstand. Visualization can help build mental confidence.
  • Use a Spotter: Having someone spot you can provide extra support and reassurance as you practice.
  • Take Breaks: Don’t overexert yourself. Take breaks between attempts to prevent fatigue and reduce the risk of injury.”

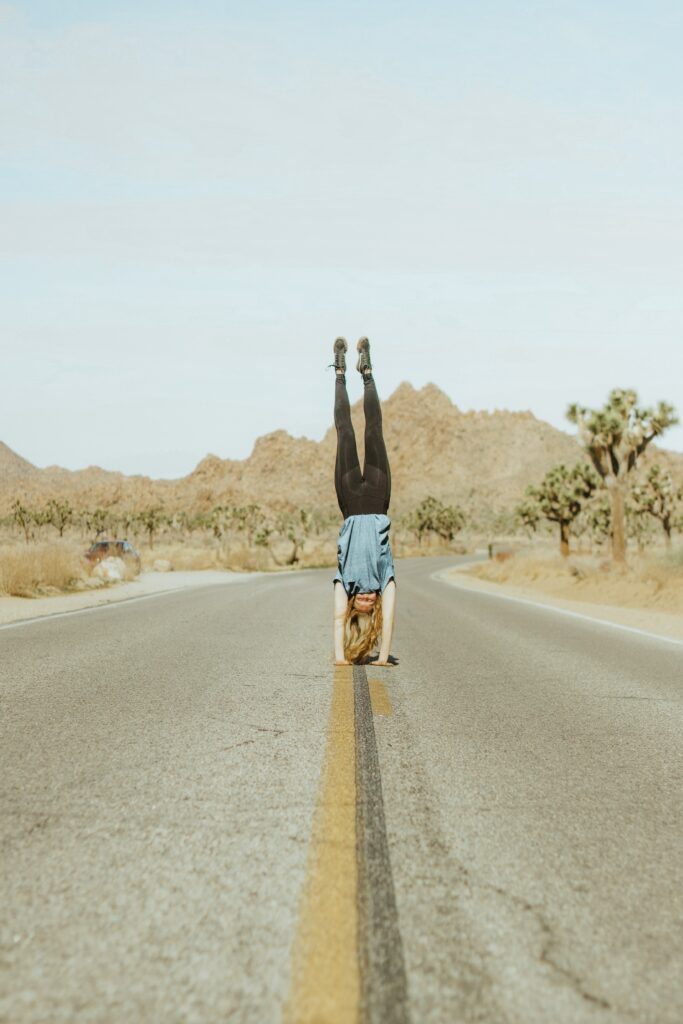
After review more Youtube videos and reviewing the information provided by ChatGPT I set out to the gym to practice. Here is my progress photo:
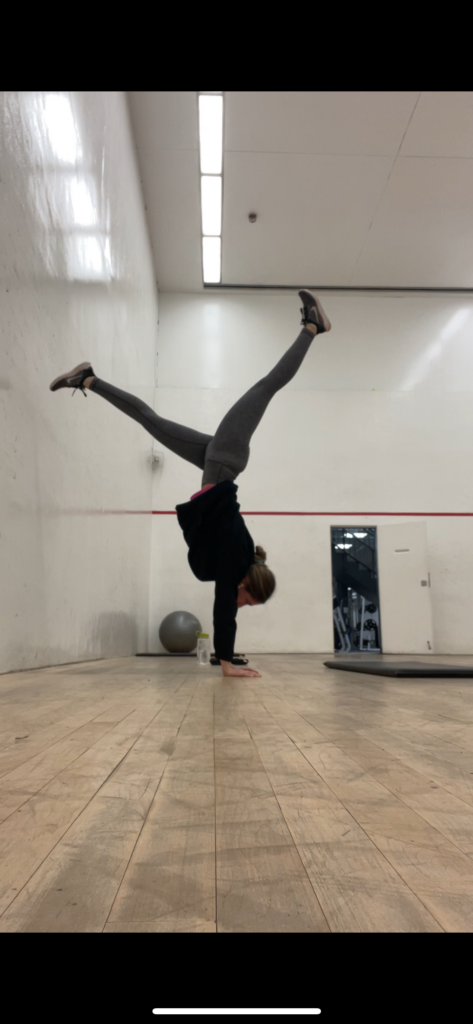
I plan to take a video every week to document my progress and this inquiry project has helped motivate my journey.

Thanks for stopping by the blog!

How to Get a Restful Sleep

For this post, I wanted to talk about something I have been struggling with for a bit and it’s my sleep. The quality of my sleep has been quite poor lately as I find it difficult to sleep for an entire eight hours without waking up and I always have rouble trying to fall back asleep. I can’t remember the last night I didn’t wake up twice during my sleep and I decided that I want to look more closely into this and try to find ways that I can improve my sleep without spending tons of money.  

So naturally I turned to yoga. I did some research and found that yoga can be a very helpful practice for improving sleep as it is intended to promote relaxation and reduce stress, ultimately having a positive effect on sleep quality. Since yoga incorporates relaxation techniques, such as deep breathing and meditation, it helps to calm down the nervous system and shift the body from “flight or fight” response to the “rest and digest” state. Engaging in yoga and meditation practices before bed can also help clear the mind of racing thoughts and worries, helping to get restful sleep.

Below is a list of some of the best yoga poses to do before you go to bed, to help improve the quality of your sleep and have a restful night:

  • Child’s Pose – Balasana

– Kneel on the mat, sit back on your heels, and reach your arms forward with your forehead resting on the mat.

-This pose helps to stretch the lower back and relax the body.

  • Seated Forward Bend – Paschimottanasana

– Sit with your legs extended in front of you and hinge at the hips to reach toward your toes.

– This pose can help calm the nervous system.

  • Cat-Cow Stretch

– Get on your hands and knees, moving between arching your back (cow) and rounding it (cat).

– This gentle flow can help release tension in the spine.

I decided to try and implement practicing these poses before going to bed. Although I have not yet seen a difference in my sleep quality, I believe if I continue practicing, I will see benefits very soon. There are numerous other yoga poses you can do to help improve your sleep but I wanted to share a couple that have helped me calm down and relax before I sleep, which is also really helpful. In addition, I wanted to share this video I found that I have really enjoyed doing before bedtime. I love Boho Beautiful and highly recommend her content! Hoping these poses help you get some well-deserved sleep!

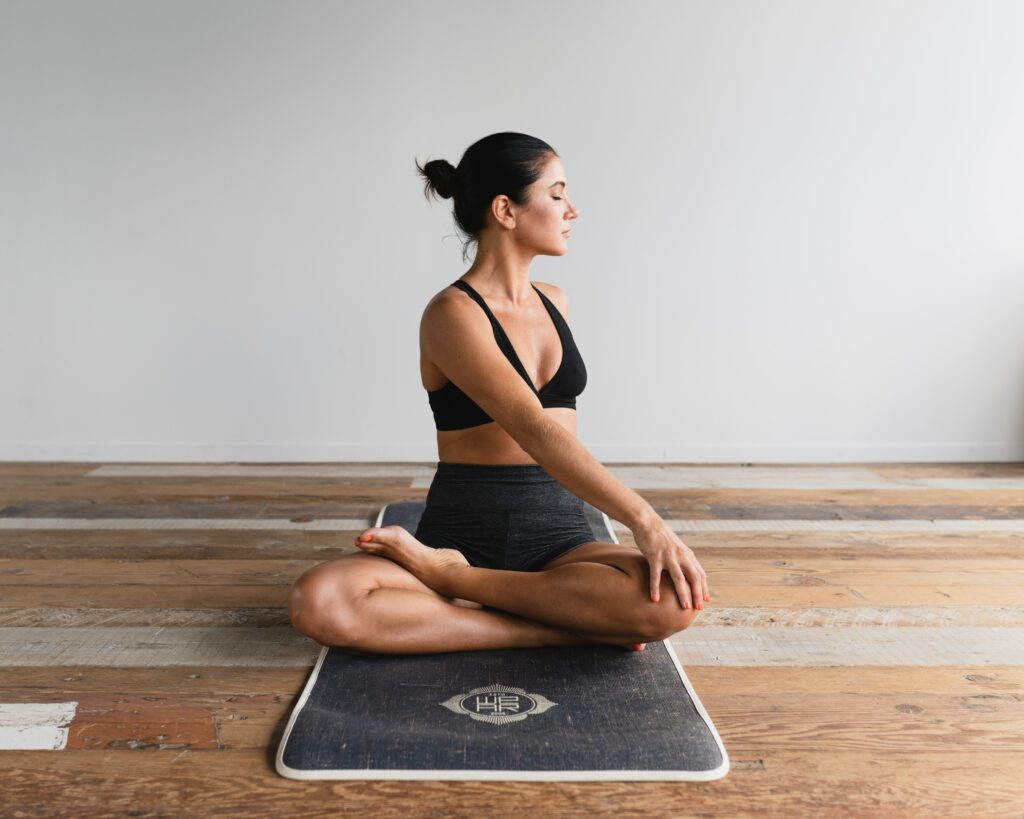
Photo by: Rehina Sultanova

EVERYTHING PROPS!

The next thing I want to discuss in my blog is the use of yoga props and how they can assist you in your practice. The first thing on the list is a yoga mat. While yoga can technically be practiced anywhere, as all it requires is a flat surface and the ability to move on the surface, I HIGHLY recommend investing in a mat. Yoga mats are highly beneficial as they provide cushioning for your joints and will really elevate your yoga practice. I have experimented with a bunch of different mats, and I can confidently say that my top two mats are the following:

This is my TOP favourite mat. What I really like about this mat is how sticky it is, as your hands and feet really grip to the surface. While it may not seem to make a difference if your mat is super sticky or not, as in balancing postures or standing postures the stickiness of the mat is not a huge factor, however I can assure you that it is critical for your mat to have grip in postures that require your hands on the mat. For postures like downward dog and flows, it is so important to be able to grip to the mat and I have found that I have almost injured myself using mats that are slippery instead of sticky.

I would rank this mat in second place because the material is not as sticky as the B Yoga mat. However, this mat is extremely lightweight and foldable and can be easily folded up and transported in a suitcase or duffle bag, whereas the B Yoga mat is much thicker and harder to transport. While this is an important quality and makes a great mat for travelling, I still prefer a mat that is stickier and feel that I can only practice to the best of my abilities if I am able to grip the mat.

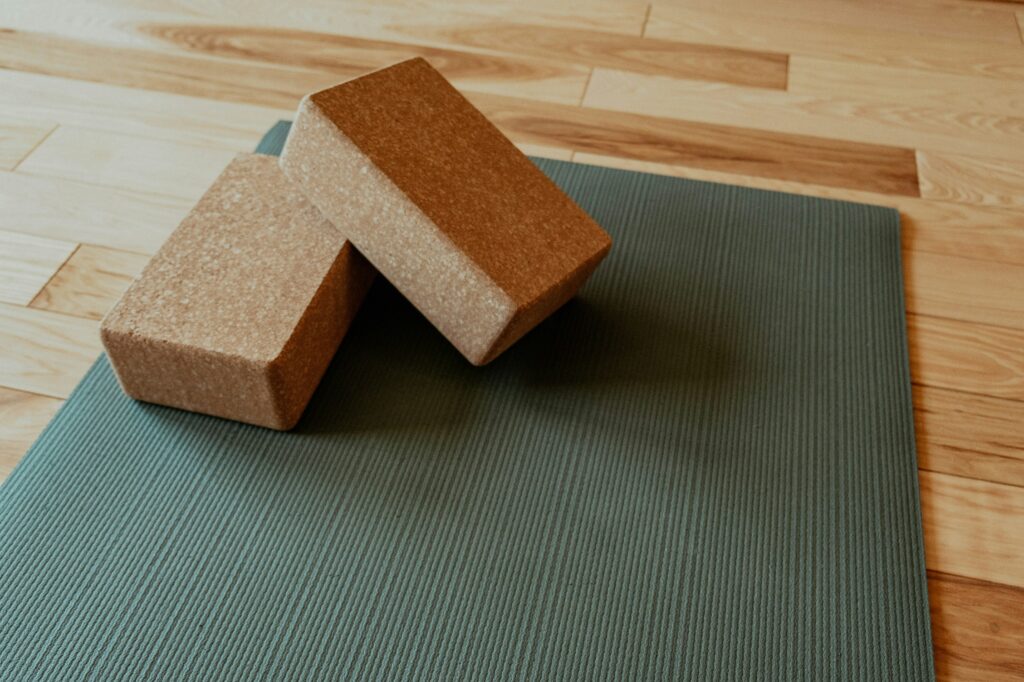
Next on the list are yoga blocks. Yoga blocks are small blocks that are used to provide stability and support during poses. I never use to practice with yoga blocks, and I once I started, I became hooked and used blocks every time I practiced at home or at the studio. For me personally, blocks really help me for postures like a seated forward fold. I sit on the block, and this helps to open my hips up and keep my back straight as I fold over my legs. Yoga blocks are usually cork, foam or wood and I would say are essential regardless of your skill level, because there is always room for improvement. Blocks are more straightforward and are not as tricky to purchase, in comparison to mats, and I would recommend the following block: Manduka Cork Yoga Block.

Lastly, for the purpose of this inquiry project, I wanted to add a strap to my yoga practice as I feel like this is a prop that I can really benefit from. Yoga straps are used to help improve flexibility and alignment and they assist in reaching deeper into poses and allowing you to grasp your limbs more easily. I am specifically trying to improve my flexibility and while I have been stretching every day, I felt like a yoga strap would be a good edition and push my practice to the next level. After doing some research, I ordered this one I found on amazon: Yoga strap. I think for the price point, this strap is the best deal and after using it couple of times, I feel as though I am deepening the stretches in my body, and I am really trying to stay consistent and practice a lot so that one day I can do the splits.

Ayurveda and Head Massages :)

While I have touched on health and mental health in my previous blog posts, I wanted to take a deeper dive and further explore wellness by examining the practice of ayurveda. If you don’t already know, ayurveda is a holistic type of medicine that originated in India over 5,000 years ago. Ayurveda and the practice of yoga are interconnected as it is centered on a holistic approach to health and well-being, and it specifically focuses on balancing the mind, body, and spirit, to improve overall health. The word “ayurveda” is derived from Sanskrit words meaning “life” and “knowledge” and it is essentially viewed as a holistic medical field, as it is not merely concerned with one practice, but rather, it is a compressive examination that addresses all aspects of an individual’s existence in accordance with health. According to ayurveda, when looking at the health of an individual, it is important to not only look at their physical body, but to also examine their mental health, spirituality, and their daily routines, including diet, exercise, and other factors. While the practice of ayurveda has similarities to the study of naturopathy, as they both focus on holistic systems of healing, they have distinct philosophies, principles, and practices. Ayurveda is grounded in the belief that there are three doshas’ – Vata, Pitta, and Kapha, that govern the functioning of the body, mind, and spirit. For more information on the doshas, please click here for a helpful document outlining the properties of the doshas in more detail. While I was studying yoga in India, I had the opportunity to take an introductory ayurveda course and I was blown away with all the information I learned. Prior to this experience, I had no idea what ayurveda was, and while I am still very new to this world of wellness, there are definitely things I learned that I want to incorporate in my life routine.

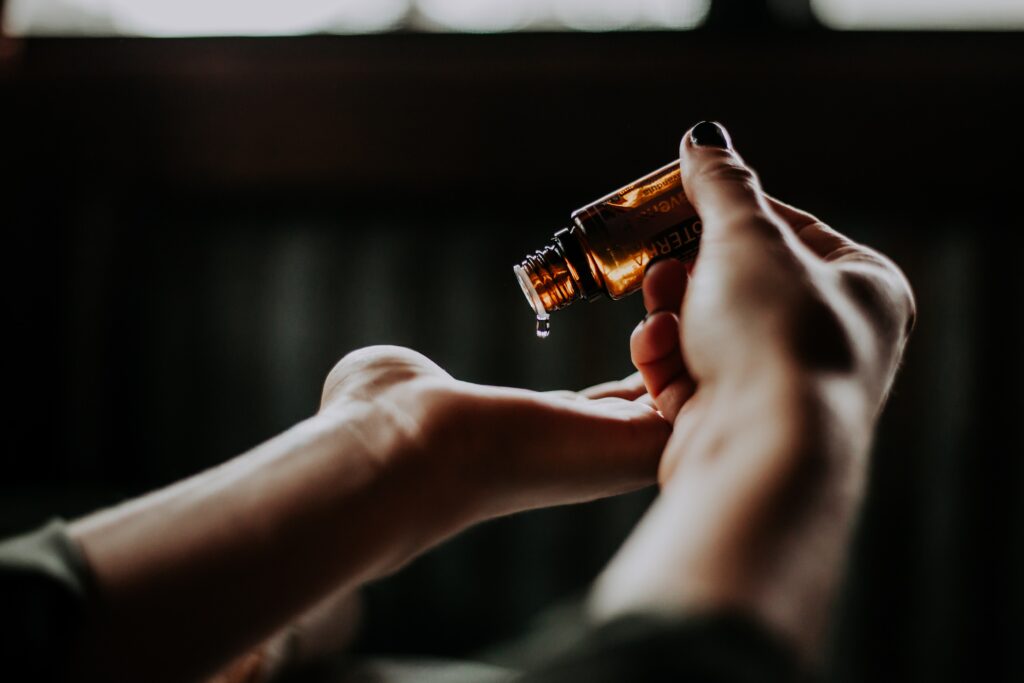
One practice in particular that I forgot about was the importance of oil massage for the body and scalp. During my course in India, the teacher taught us about the benefits of regular self-massage with oil, specifically sesame oil, and demonstrated how to properly perform a head massage and I have included a video here for reference. As you can see, the massage incorporates a lot of different rhythmic movements and techniques. Head massages are viewed in ayurvedic medicine as an essential practice for maintaining good health and offer a variety of therapeutic benefits, such as enhanced blood circulation and lymphatic flow, which can ultimately help reduce stress and improve relaxation. I learned that sesame oil in particular is one of the best oils to use for massage and this is because it has warming properties and it is believed to help calm the nervous system.

Photo by: Christin Hume

So, I decided to purchase sesame oil from the grocery store and give myself a head massage. I must say, giving someone else a head massage is much easier and less messy than giving yourself one. This is the first time I attempted a head massage since India, and I forgot how much work and hand strength is involved. After massaging my head for two minutes, my hands and fingers definitely felt sore, and I was getting tired and bored with the repetitive movements. Nonetheless, after massaging my head with the oil and washing it out, not only did my hair feel super soft and was shiny, but I also definitely felt a sense of ease and relaxation and it was the perfect thing to do before I went to bed. Although ayurvedic medicine states that you should be performing head massages on a regular basis, I am going to stick to performing them on a bi-weekly basis as they take a lot of work and energy.

The Importance of Meditation

An important component of yoga that I have not yet discussed in my blog is meditation and mindfulness. Meditation is essentially a practice that helps individuals “quiet” the mind and it involves training the mind to achieve a state of awareness and relaxation. Mindfulness is cultivated through meditation and is a mental state that can be characterized by focused attention on the present moment, without judgment or distraction. It is an awareness that emerges through paying attention to the present moment and non-judgmentally to the unfolding of experiences. The practice of mindfulness is not something that you achieve but rather is an ongoing process and journey, as it involves being present and aware of your thoughts, feelings, bodily sensations, and the surrounding environment. Meditation and yoga go hand in hand as yoga aims to create harmony between the mind and body. When I was studying yoga in India, we were guided through a meditation practice every morning for one hour, and our instructor taught us different breathing techniques, such as pranayama breathing, and I remember feeling very relaxed and calm after every session.

While I have taken my yoga practice very seriously, I can’t say that I have done the same with my meditation practice. So, I decided that I would make an effort to practice mediating as it is an integral part of yoga, and it will only strengthen my practice and my mind for the better. To help me with my journey and to get back into the groove of meditating, I decided it would be a great idea to use a meditation app. After careful research, I landed on the app called Insight Timer, and the reason I chose this app is because it is free and it includes thousands of guided meditations, sleep music tracks and talks led by the top meditation and mindfulness experts. I played around with the app for a bit, and I like how you have the choice to either set a timer and meditate on your own or choose from an array of guided meditations. I used the app consecutively for five days in a row and I love how the app keeps track of your progress and you are awarded accomplishment streaks. I love the gamification aspect of this app as I find myself wanting to practice meditating to continue my streak. As well, I really enjoy how the app is super customizable as users have the choice to pick what kind of bell or sound they want to start and end their practice with, if they are using the timer. I also found the guided meditations to be very helpful at nighttime when I am trying to fall asleep as they help me to clear my mind and enter a relaxful state before bed. Overall, I highly recommend this app and strongly believe it is a useful tool that everyone can benefit from, no matter their experience with meditation.

Photo by: Colton Sturgeon

One Yoga Review

Last week I shared my experience at The Lab, and this week I wanted to discuss my experience practicing at the yoga studio One Yoga. One Yoga is literally a 5-minute walk from my apartment, so I loved the fact that I was able to get to class in such little time. I found that back in Toronto, I spent a lot of time commuting and one of the things I looked forward to most when moving to Victoria was the idea of being able to walk or bike everywhere. Similar to most studios, One Yoga is decorated with a lot of wooden furniture and accents and there is a small tea station in the lobby of the studio. I decided to take the “All Levels” yoga class, as I thought this would be the best class to get a feel and understanding of the overall vibe of the studio, as it is described as a basic introduction to the practice of yoga, focusing on breath and alignment, which is a type of class I have taken hundreds of times before.  However, when I entered the studio, I was instantly hit with a surprise as I immediately noticed that there were no mirrors and there was no clear direction regarding which side of the studio was the front and the back. I became so dependent and accustomed to using mirrors in my practice that I felt out of place and uncomfortable. I remember thinking throughout the class whether I was doing the postures correctly and was trying to mimic the movements of others around me. After finishing the class, while I felt accomplished and refreshed, I did not feel like I got the most out of my practice.

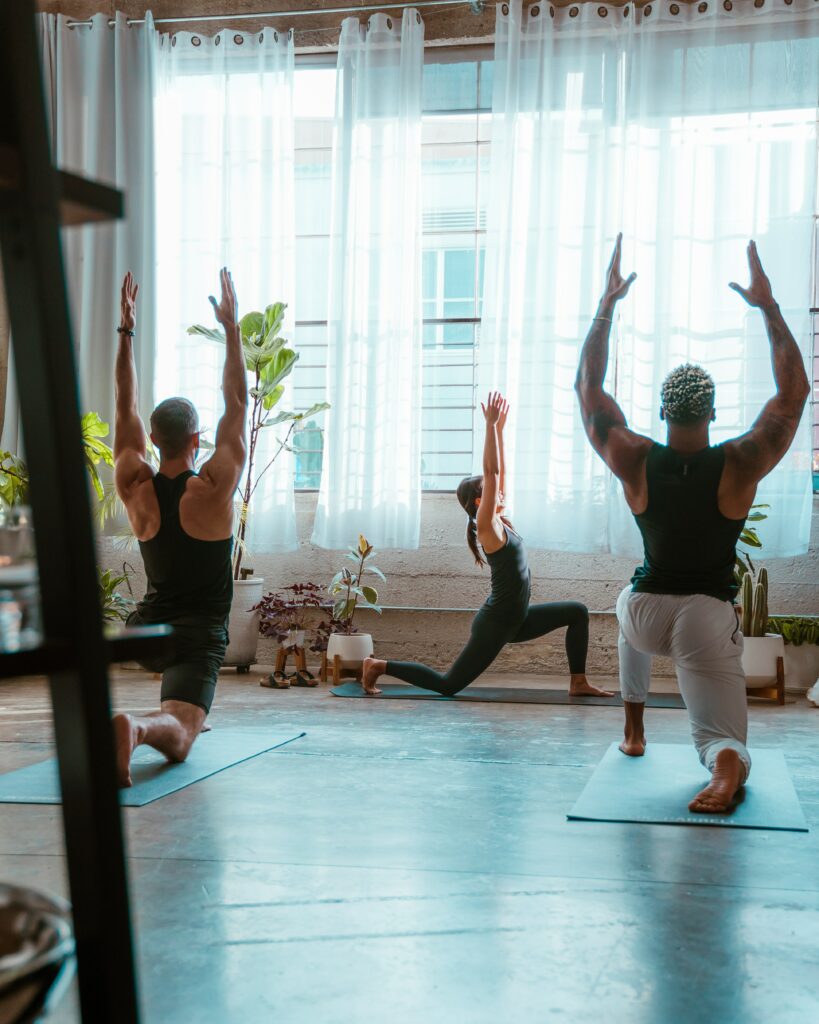
Photo by Alen Kajtezovic

This experience made me reflect on my time in India and how the purpose of yoga is about cultivating internal awareness and mindfulness and it is not about “doing the postures correctly.” This yoga studio’s philosophy focused on the fact that mirrors distract individuals as they place a greater emphasis on external appearance, and while I can appreciate this experience, I must say that I prefer to practice with mirrors. I really enjoy being able to look at myself in the mirror while I practice as it helps me to correct my alignment and I ultimately feel a greater stretch as a result. Nonetheless, while I will not be returning to back to this studio and prefer to practice at The Lab, I am grateful for this experience as it opened my eyes and made me aware of things about myself that I did not recognize, such as how much I value mirrors in my practice.

Inquiry Revamp – ALL THINGS YOGA!

When I sat down to write my next post for my inquiry project, I realized that without a doubt, my inquiry had changed. I initially set out to create this blog to document my process on how to learn to do a handstand, I couldn’t help but notice that the last several weeks, I have been mainly focusing on unpacking my experience with yoga and sharing my perspective and tips on how to practice yoga. So, I thought it only made sense to pivot my inquiry and make yoga the focal point. While I will definitely touch on handstands in the upcoming weeks, I think it would be more fruitful and authentic to base my project around yoga.

So! Let’s get right into it!

Last week I discussed my experience at my favourite yoga studio back in Toronto, and I thought it would be great to branch out and share my experience as I try out different yoga studios in Victoria. Since moving to Victoria, I have missed practicing at a yoga studio and I have not yet found a yoga studio to practice at so I would like to share my experience after taking two classes at two different studios. This week I am going to focus on The Lab, a yoga studio in downtown Victoria, and next week I am going to focus on One Yoga, a yoga studio in James Bay. The reason why I chose these two yoga studios is because they are the closest studios to where I live and would be the only two feasible options for me to attend on a regular basis.

The Lab is a 10-minute drive from my apartment, or about a 20 minute walk. I took the class called “The Roots” and it was a hot yoga class that was described on the website as a “foundational, consistent and grounding yoga sequence.” I found the studio to be extremely welcoming and it greatly reminded me of my favourite yoga studio back in Toronto. The teacher was very friendly, and I loved her energy as she was very calm yet also pushed everyone to try their best. The teacher ended the practice by singing a lullaby and I thought that was very special. The only thing that I was unhappy with was the size of the studio space. It was a very busy class, and everyone was packed in the studio like sardines. There was very limited room to move around, and I couldn’t fully express myself in each posture as if I extended my legs or arms, I would be touching the person next to me. However, overall, I loved the yoga sequence and can definitely see myself practicing at The Lab more often.

Image is from: https://labstudios.ca/

My Yoga Practice and Handstands: A Love Story

Hi everyone!

After unpacking why I want to be able to a handstand in the first place and sharing my experience in India training to become a yoga teacher, I think it’s time we discuss my yoga practice and how this has influenced my obsession with hand stands.

Photo by Dane Wetton

When I got back home from India, I was so inspired to continue my yoga practice, but I felt that I was having difficulty doing it on my own. In India, I had a very strict schedule and was surrounded by the same thirty people every day. I became accustomed to practicing yoga in large groups and having a teacher direct me through the postures. I found that when I returned home, I was struggling with committing to my practice and I found it difficult to carve out a piece of my day and dedicate it to yoga. So, to help motivate me to get back into my practice, I decided to take yoga classes at my local studio. It ended up being one of the best decisions I have ever made. The studio is called Sukha Yoga and they offer an array of heated yoga classes ranging from beginner to advanced. I was at first apprehensive to take a hot yoga class as it was not something I practiced in India, but after taking my first class, I was instantly hooked. I loved the way I felt after doing the hot yoga class as my face was glistening and I felt extremely relaxed yet strong. I loved how much I sweat during the class, and I found myself constantly thinking about yoga and taking classes throughout the week. See here for a video that demonstrates how to register for a class on the website. This studio really helped me to find the joy in my practice again and I loved it so much, I joined the Energy Exchange program. The program allows you to practice yoga free of charge, however you are required to volunteer three hours of your time every week to cleaning the studio. While this was definitely not a glamourous job, I found it very fulfilling, and I loved that I was giving back to my yoga community while also being able to enjoy yoga free of cost.

Why Do I Want To Do a Handstand?

After brainstorming questions surrounding my practice, I thought it would be best to take a deep dive and try and find the answers to some of my questions. While I believe physically practicing handstands is the most crucial step to achieving success, I do think it is important to conduct research and unpack the questions from the previous week. Please see here for a video that details how I would go about researching the questions.

One of the questions that really stood out to me was the following: Why do I want to learn how to do a handstand?

I want to learn how to do a handstand because ever since I can remember, I have always thought that being able to do a handstand was so awesome and cool. I love the idea of being upside-down and have always wondered what it would be like to be able to stand on my hands and not fall down. I admire and have secretly been envious of those who are able to do a handstand as it requires a great deal of hard work, discipline, balance, and physical strength.

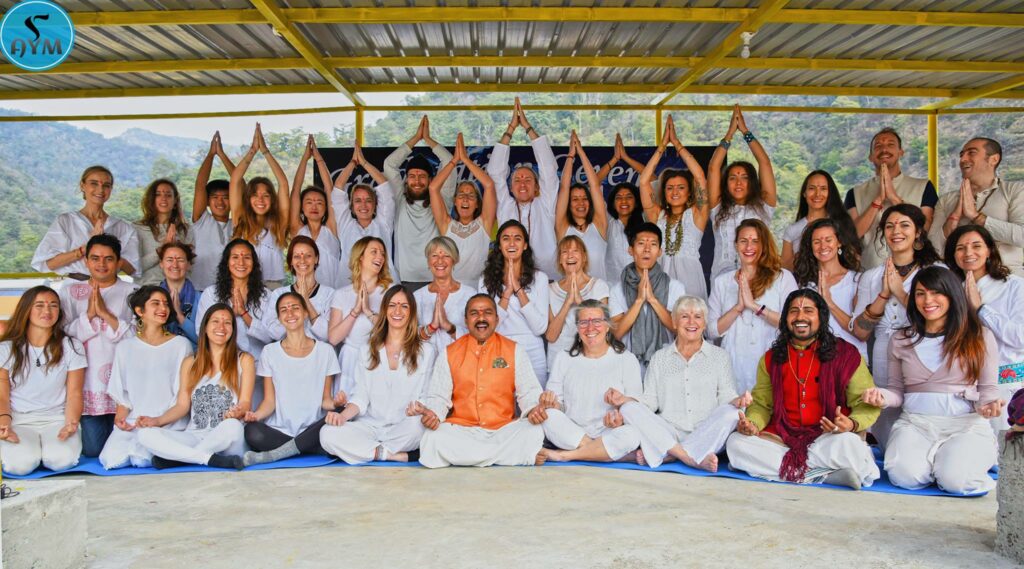
My fascination with handstands is definitely linked to my interest in Yoga. In 2019, I travelled to Rishikesh, a city in India, where I completed a 200-hour yoga teaching course and became certified as a yoga instructor. I highly recommend the AYM Yoga School if anyone is interested in completing their certification in India. My trip to Rishikesh was very transformative as not only was I able to strengthen my yoga practice but I also really pushed myself outside of my comfort zone. I was exposed to eye-opening experiences that have positively influenced my life, such as hiking in the Himalaya’s, and I developed a greater sense of confidence in myself. Not to mention the food was SO GOOD. I still think about all the meals I ate while completing my training. But something I vividly remember thinking during my training was how I wish someday I could do a handstand. At that point of my training I could barely keep up with the class but I have progressed so much and I now feel ready to tackle handstands.

This is a picture of my yoga teaching graduation in 2019.

Flipping Your World Upside Down: Learning How to do a Handstand

The following blog will be dedicated to learning how to do a handstand. I will document my progress over the next several weeks and will highlight my key learnings, strengths, and difficulties to help others and provide direction to others who are also interested in learning how to do a handstand.

According to the Pacific School of Innovation and Technology, the starting phase is the first step needed to be taken for someone who is learning and trying to acquire a new skill. The starting phase involves brainstorming initial questions to help facilitate and promote exploration of the topic.

Since I am very interested in learning how to do a handstand, some initial questions that come to mind surrounding my practice include:

  • Why do I want to learn how to do a handstand?
  • How do I start learning to do a handstand?
  • Is there a proper handstand technique?
  • Are there any health benefits associated with practicing handstands?
  • Can I get injured from practicing handstands?
  • What should I wear when practicing handstands?
  • What exercises should I practice to improve my handstand technique?

Many of my questions I have about handstands are related to the technique and safety of the practice as I recognize that handstands are not an easy feat and if done incorrectly, one could seriously injure themselves. For example, an article written in Women’s Health Magazine titled, “How To Do A Handstand Once And For All In 5 Easy Steps” explains that it is important to warm up your muscles before attempting to do handstands as you can sprain your wrists or pull a hamstring.

By researching and unpacking the questions above, this will give me a better understanding on the motives behind my practice and will also provide insight on how to best set myself up for success and avoid injury.

Stay tuned to see the next steps of my handstand journey!

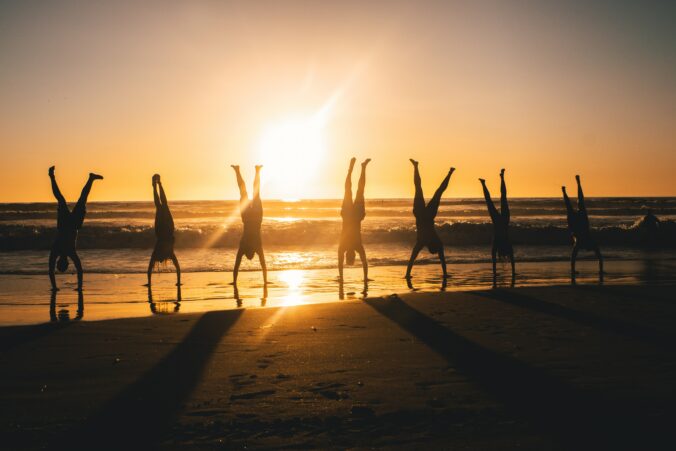
Photo by Tori Wise

© 2025 Sophia's Blog

Theme by Anders NorenUp ↑