The final blog post!! What better way to end the blog then to take it back to the first post and do a full circle in learning!
So, as stated previously, I initially set out to do this inquiry project with a focus on handstands. However, as I began writing more blog posts each week, I realized that my inquiry shifted and I wanted to focus my posts on the practice of yoga. Well, handstands are a yoga pose and for the final week, I am going to walk you through a handstand practice that I researched and the exercises I will do to help me work on my balance and strength.
Before you start trying to do handstands, it is very important to establish a solid foundation. You should always remember to warm up your body before attempting to a handstand and you should focus on strengthening your wrists, shoulders, and core.
I started researching videos on Youtube, and I found this one here that I really enjoyed. The video is intended for beginners with no prior training and the instructor walks through different exercises to work on to help achieve a hand stand.
I asked Chat GPT for tips on how to do a handstand and this is what was generated:
“Performing a handstand requires a combination of strength, balance, and technique. Here’s a step-by-step guide to help you learn how to do a handstand:
1. Warm-up: Before attempting a handstand, it’s crucial to warm up your wrists, shoulders, and core. Perform wrist circles, shoulder stretches, and core activation exercises to prepare your body for the inversion.
2. Hand Placement: Place your hands on the ground shoulder-width apart. Your fingers should be spread wide, with your fingertips facing forward. Ensure that your weight is distributed evenly across your palms.
3. Kick Up Against a Wall: Start by practicing against a wall to build confidence and strength. Stand facing the wall, place your hands on the ground, and kick one leg up while pushing off with the other. Aim to create a straight line from your wrists to your shoulders, hips, and heels. Use the wall for support as you find your balance.
4. Focus on Alignment: Pay attention to your body alignment. Engage your core to keep your body straight, and avoid arching your back or letting your shoulders collapse. Gaze between your hands to maintain a neutral neck position.
5. Balance Practice: Once you’re comfortable with the wall-supported handstand, practice finding balance without the wall. Kick up gently, and use your fingers to make micro-adjustments in your balance. Focus on tightening your core muscles to control your position.
6. Entry Techniques: There are various ways to enter a handstand. You can use a two-legged kick, a tuck jump, or a straddle entry. Experiment with different techniques to find the one that feels most comfortable for you.
7. Bail Safely: Learning to bail safely is essential to prevent injuries. Practice rolling out of the handstand by tucking your chin to your chest and rolling forward if you feel like you’re losing balance.
8. Consistent Practice: Like any skill, mastering the handstand takes consistent practice. Dedicate regular sessions to handstand drills, focusing on both strength and balance exercises. Gradually increase the duration of your holds as you gain confidence.
Tips:
- Visualize Success: Imagine yourself successfully holding a handstand. Visualization can help build mental confidence.
- Use a Spotter: Having someone spot you can provide extra support and reassurance as you practice.
- Take Breaks: Don’t overexert yourself. Take breaks between attempts to prevent fatigue and reduce the risk of injury.”
After review more Youtube videos and reviewing the information provided by ChatGPT I set out to the gym to practice. Here is my progress photo:
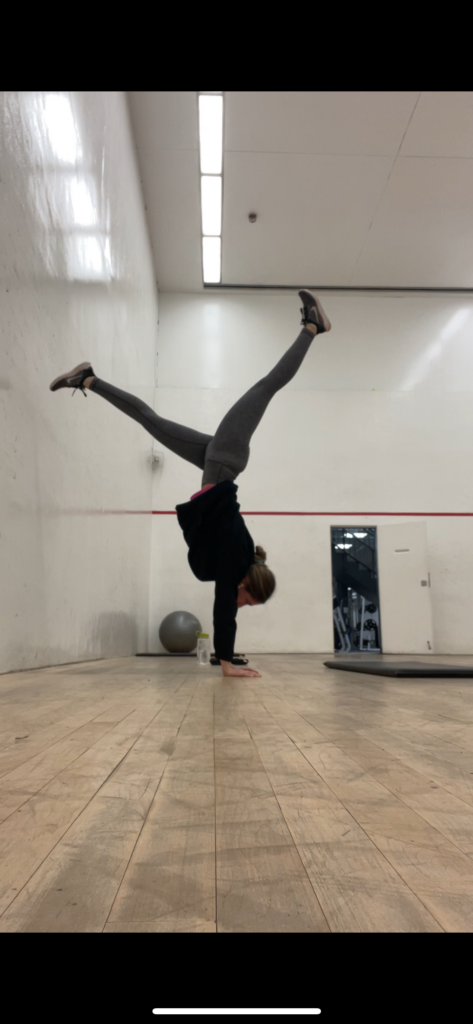
I plan to take a video every week to document my progress and this inquiry project has helped motivate my journey.
Thanks for stopping by the blog!